Don’t worry, setting up a new iPhone is way simpler than it looks. I’m going to walk you through every step in plain English, so you’ll have your phone ready to use in less than half an hour. You’ve got this!
What You’ll Need Before You Start
Before we dive in, gather a few things to make the process smooth:
- Your new iPhone (charged or plugged in)
- Your old phone (if you’re switching from Android or an older iPhone, optional but helpful)
- WiFi access (you’ll need internet to download apps and sign in)
- Your Apple ID (the email and password you use for Apple services, or we’ll create one)
- A few minutes of quiet time (no rush!)
That’s it. You don’t need a computer, everything happens right on the phone.
Step 1: Power On and Say Hello
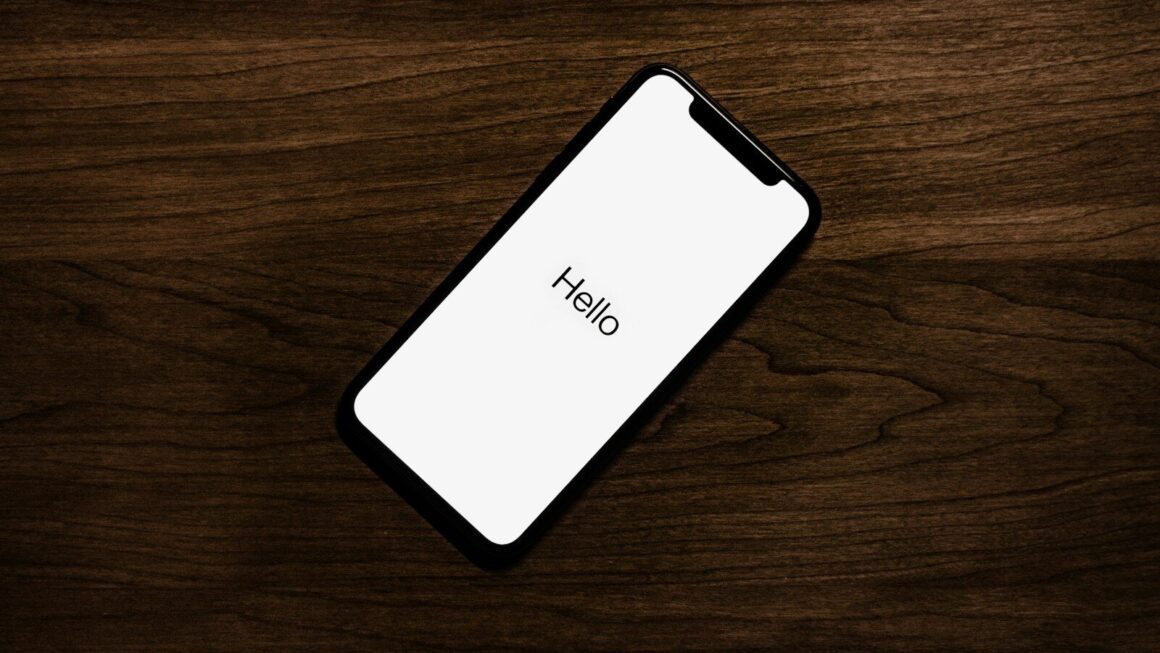
Turn on your new iPhone. Press and hold the side button (the power button) until you see the Apple logo appear. It’ll take about 15 seconds. When you see “Hello” in multiple languages, you’re good to go.
You’ll see a screen asking you to swipe up from the bottom to get started. Do that, and the setup wizard will begin.
Step 2: Choose Your Language and Region
The phone will ask you to select your language and country or region. Tap the one that matches where you are, then tap “Next.”
This step is quick but important. It makes sure your keyboard, date formats, and measurements are set correctly for your location.
Step 3: Connect to WiFi
You’ll see a list of WiFi networks available near you. Select your home WiFi network and enter your password. Make sure you spell it exactly right (WiFi passwords are case-sensitive).
Pro tip: If you don’t have WiFi at home, you can use your mobile data instead, but WiFi is faster for the initial setup.
Step 4: Restore or Set Up as New
Here’s where you’ll see one of the most important choices:
If you’re upgrading from an older iPhone:
- Tap “Restore from iCloud Backup” or “Restore from Mac or PC”
- This brings over all your old apps, photos, messages, and settings
- You’ll need your Apple ID password
If you’re switching from Android or setting up brand new:
- Tap “Set Up as New iPhone”
- You can move some Android data later, or start fresh
Which should you pick? If you’re coming from an iPhone, definitely restore from backup. It’s the easiest path and brings everything you had over automatically.
Step 5: Sign In With Your Apple ID
Apple ID is your key. It’s the account that unlocks everything on an iPhone—apps, iCloud backups, payment methods, and more.
If you already have an Apple ID:
- Enter the email address associated with it
- Enter your password
- If you have two-factor authentication turned on (which is recommended), you’ll get a code on another device to verify it’s really you
If you don’t have an Apple ID yet:
- Tap “Don’t Have an Apple ID or Forgot It?”
- Tap “Create a Free Apple ID”
- Follow the prompts (you’ll use an email address and create a password)
This usually takes 2-3 minutes. Write down your password somewhere safe if you don’t have a password manager to store it in.
Step 6: Set Up Face ID or Touch ID
Your iPhone can unlock with your face or fingerprint. Both are secure and convenient.
For Face ID (available on iPhone X and newer):
- Position your face in front of the camera
- Slowly move your head in a circle while the phone maps your face
- You’ll need to do this twice
- It takes about a minute total
For Touch ID (older iPhones):
- Place your finger on the home button
- Lift and press again, slightly moving your finger each time
- Repeat until the phone recognizes your fingerprint
My recommendation: Set this up now. It’s one of the best features on an iPhone, and you’ll use it dozens of times a day.
Step 7: Create a Passcode
Next, you’ll create a six-digit passcode (or longer if you want). This is your backup unlock method if Face ID or Touch ID doesn’t work.
Choose something you’ll remember, but not something obvious like your birthday. Think of a number that means something to you but others couldn’t guess easily.
You’ll be asked to enter it twice to confirm.
Step 8: Agree to Terms and Conditions
Apple will ask you to agree to their terms. Scroll through and tap “Agree” at the bottom. I know, it’s a lot of legal text—most people skim this part, and that’s fine.
Step 9: Choose Your Settings (The Quick Stuff)
The phone will ask about a few preferences:
- Siri: This is Apple’s voice assistant. You can enable or disable it. (I’d suggest leaving it on—it’s handy.)
- Analytics: Whether to share usage data with Apple to help improve their products. (This is optional and won’t affect your experience either way.)
- True Tone: Makes the display adjust its color temperature based on your environment. (Most people like this on.)
Tap your preferences and move forward.
Step 10: Restore Your Apps and Data (If Applicable)
If you chose to restore from a backup in Step 4, your iPhone will now download and install all your old apps, photos, and settings in the background.
This can take 10-30 minutes depending on how much data you have and your WiFi speed. Your phone will show a progress bar.
You can use your phone while this happens.
Step 11: You’re Done! The Last Few Things
Once that backup finishes, your iPhone is officially set up. But there are a few final touches to make it feel right:
Customize Your Home Screen
- Long-press on an empty area of your home screen
- Tap the “+” button in the bottom left
- Choose which apps you want to add shortcuts to
- Drag and organize them however you like
Download Essential Apps
Open the App Store (the blue icon with a white bag) and search for anything you need:
- Banking apps (your bank’s official app)
- Social media (Facebook, Instagram, TikTok, etc.)
- Communication (WhatsApp, Telegram, messaging apps)
- Productivity (Gmail, Google Drive, Microsoft Office)
Most popular apps are free to download.
Turn On Automatic Updates
Go to Settings > General > Software Update and turn on “Automatic Updates.” This keeps your phone secure and running smoothly.
Quick Troubleshooting Tips
“I forgot my Apple ID password”:
Go to iforgot.apple.com on a computer or another device. You can reset it in a few minutes.
“My backup is taking forever”:
Make sure you’re on a strong WiFi connection. Move closer to your router if needed.
“An app won’t download”:
Try signing out of the App Store and signing back in. Sometimes the connection gets stuck.
“Face ID isn’t working”:
Make sure your face is visible and not covered. In harsh lighting, it might take a moment longer.