Ever deleted an important file and felt your heart drop? Whether it’s work documents, photos or videos, losing data is stressful and feels permanent in the moment.
The good news is, deleted doesn’t always mean gone forever. In many cases, your files can still be recovered if you act fast.
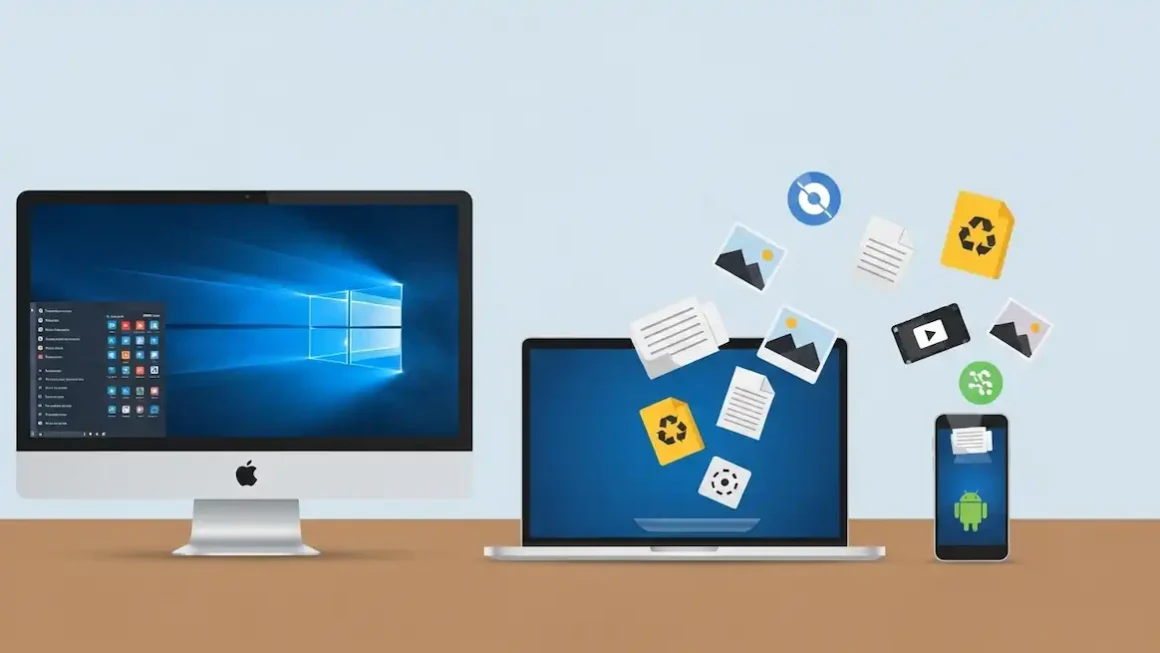
In this guide, you’ll learn simple and effective ways to recover deleted files on Windows, Mac and Android using easy steps and trusted tools.
Understanding File Deletion: What Really Happens
When you delete a file, it usually isn’t erased right away. Instead, your device just hides it and marks that space as ‘free’ for later use. The file data is still sitting there quietly until something new overwrites it. That’s why recovery is often possible if you act quickly.
A soft delete happens when you send a file to the Recycle Bin or Trash. This is the easiest situation because you can usually restore the file in seconds with just a click.
A hard delete happens when you empty the Recycle Bin, use Shift + Delete, format a drive or reset a device. The file disappears from view, but the data may still remain in the background. This is when recovery tools become necessary.
The most important thing after deleting something is to stop using the device as much as possible. New files can overwrite the old data, making recovery much harder or impossible. Acting fast gives you the best chance of getting your files back.
What to Do Right After File Loss
If you’ve just deleted something important, what you do next matters a lot. A few smart moves can seriously boost your chances of getting it back.
First, stop using the device right away. Don’t download anything, don’t browse and if possible, turn it off. A new activity can overwrite your deleted file and make recovery impossible.
Next, act fast. Deleted files aren’t wiped instantly but the longer you wait, the higher the risk they’ll be replaced by new data.
If you plan to use recovery software, never install it on the same drive where your files were lost. Use another drive or a USB instead.
A stable internet connection is often essential when downloading recovery tools or restoring cloud backups; this guide helps resolve common Wi-Fi and connectivity issues.
Fast File Recovery To-Do List
- Stop using the device immediately
- Check the Recycle Bin or Trash
- Look in cloud backups like Google Drive, OneDrive, iCloud or Dropbox
- Avoid saving anything new to that drive
- Install recovery tools on a different drive
- Remember where the file was stored
- Note roughly when it was deleted
These small steps can make the difference between getting your file back and losing it for good.
What’s the Best Way to Recover Your Files?
Not sure where to start? The easiest way is to match your situation to the right method. Your device, how the file was deleted and whether you had backups all matter. Once you know that, recovery becomes much simpler and faster.
Method 1: Recovering Deleted Files on Windows
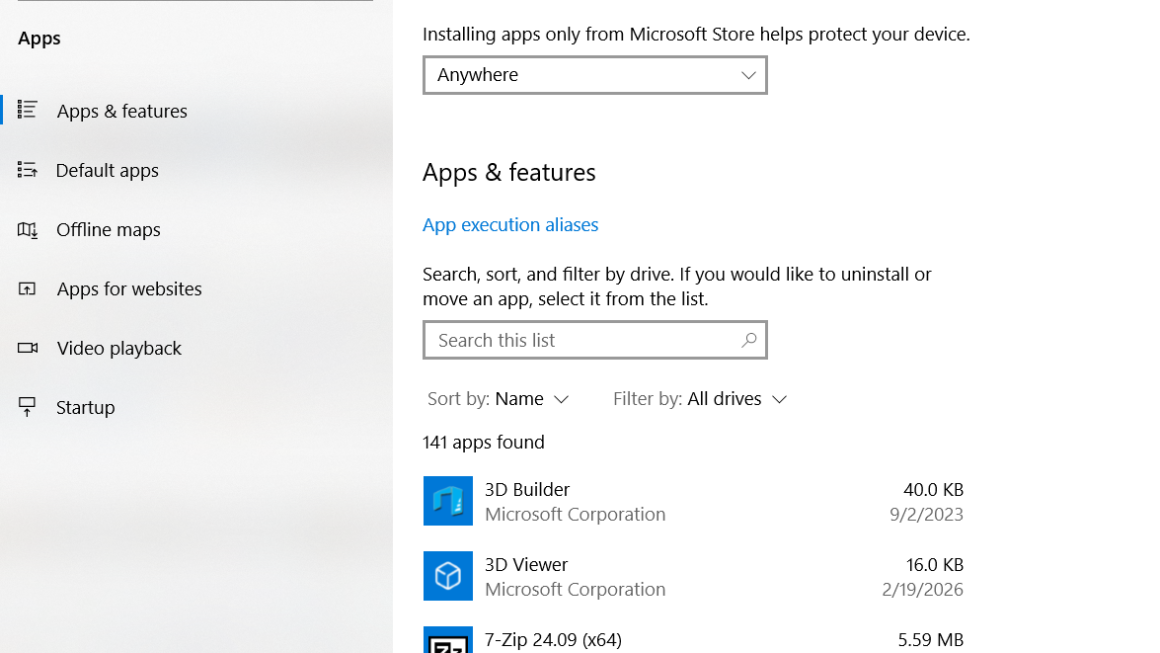
Start with built-in tools before moving to recovery software. First, open the Recycle Bin, find your file, right-click it and choose Restore. This works if the file was deleted recently.
Use File History or Previous Versions
If you had backups enabled:
- Search for Restore your files with File History and browse older versions.
- Or right-click the original folder → Restore previous versions and pick an older copy.
Use Data Recovery Software (If Nothing Else Works)
If the file isn’t in backups, use trusted recovery tools like Recuva, Disk Drill or EaseUS. To do so:
- Install the software on a different drive.
- Scan the drive where the file was lost.
- Preview and recover files to another location.
Free versions usually have limits, so check before scanning large files.
Method 2: Recovering Deleted Files on Mac
The 2nd method, which usually works for most users, is to open Trash, find your file and click Put Back. If backups were enabled:
- Open the folder where the file used to be.
- Click the Time Machine icon and browse older backups.
- Select the file and click Restore.
If Trash and Time Machine don’t work, tools like Disk Drill, EaseUS or PhotoRec can help. Follow the steps below.
- Install on another drive.
- Scan your disk.
- Preview and restore files elsewhere.
Method 3: Recovering Deleted Files on Android
Many Android phones back up automatically.
- In Google Photos, go to Library → Trash and restore.
- In Google Drive, open Trash and recover files.
If the files were on an SD card, remove it and connect it to a computer. Use Windows or Mac recovery software to scan it.
Use Android Recovery Software
Apps like DiskDigger, EaseUS or Disk Drill (PC-based) can help, but full recovery is often better on a computer and may require USB debugging or root access.
Basic steps:
- Install the software on your PC.
- Connect your phone with USB.
- Scan, preview and recover files.
When Nothing Works: Should You Call the Pros?
Sometimes DIY recovery just isn’t enough, especially if your drive is making clicking sounds, has gotten wet, won’t turn on, or your data loss is really complicated. In these cases, trying more software can actually make things worse, not better.
If your files are super important (work documents, business data, family photos), it might be time to get professional help.
You should consider a recovery service if:
- Your hard drive or phone is physically damaged
- A RAID system failed
- You’ve already tried multiple tools with no success
- The data is critical and can’t be replaced
Professionals use special tools, clean-room labs and advanced techniques that normal users don’t have access to. Most reputable services also keep your data private and secure.
However, professional recovery can be expensive, anywhere from a few hundred to a few thousand dollars, but for irreplaceable files, it can be worth it. Success depends on the extent of the device’s damage.
Prevent Future Data Loss
Losing files once is stressful; losing them again is worse. While recovery tools help, the smartest move is prevention. A solid backup setup saves time, stress, and panic later.
Easy backup options:
- Cloud storage (Google Drive, Dropbox, OneDrive, iCloud): Great for automatic syncing and access anywhere, but usually needs a subscription and internet.
- External hard drives or USBs: Fast and affordable for local backups, but they can be lost, damaged or forgotten.
- Network-attached storage (NAS): Works like a private cloud at home or in the office. Powerful, but costs more and takes setup.
- Built-in backup tools: Windows File History, Mac Time Machine, and other apps make backups automatic and simple.
Use the 3-2-1 rule:
- Keep 3 copies of your data
- Store them on 2 different devices
- Keep 1 copy off-site (like in the cloud)
That way, even if something goes wrong, your files stay safe. Many file recovery and backup solutions rely on Google services. This article walks you through creating a Gmail account to manage Android backups and cloud storage.