
Installing a smart thermostat might seem overwhelming if you’re not great with technology, but it’s actually much more manageable than you may think. The truth is that most people can install a smart thermostat in about 30 minutes to an hour without needing to bring in a construction expert. If you are planning your own upgrade or just thinking about the possibility check out our article below and your will see everything you need to know.
Background Info
Compatibility Check
The first step is making sure your HVAC system will work with a smart thermostat. Not all homes can will work with every model, you will want to verify before purchasing.
Start with your current thermostat. After removing it from the wall, look at what wires are connected to your existing thermostat. Most smart thermostats need at least a C-wire (common wire) to function properly, though some newer models work without it. Take a photo of the wires inside your current thermostat, you can use this to compare to the manufacturers specs.
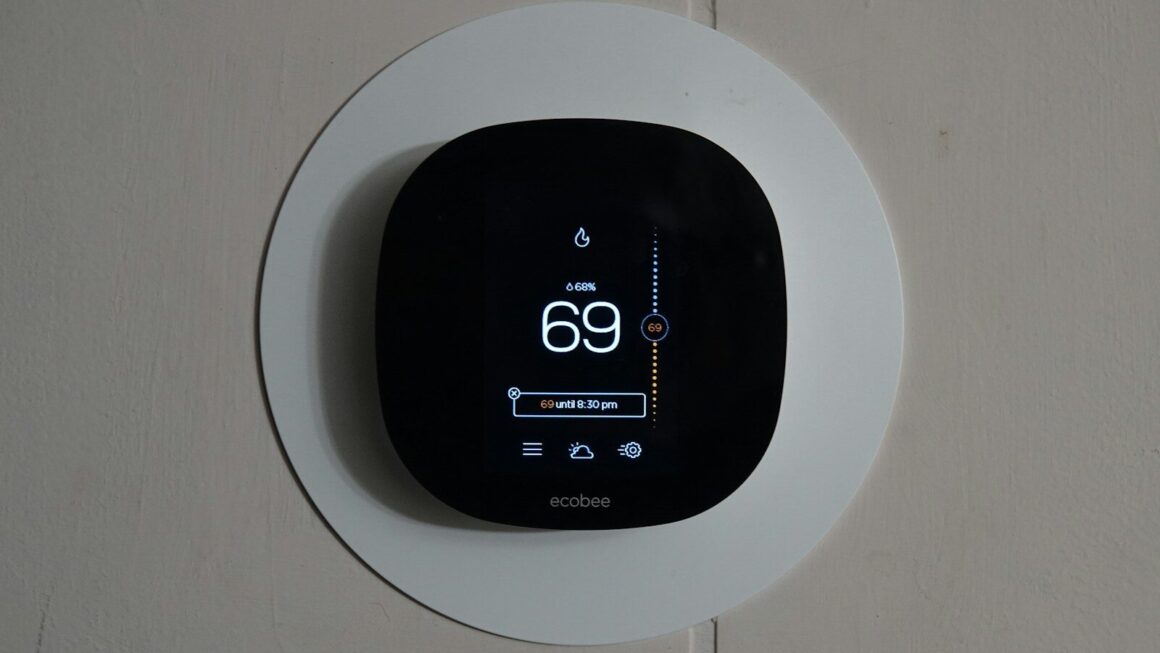
If you check the manufacturer’s website they will likely have a compatibility checker. Popular options like Nest, Ecobee and Honeywell all have tools that let you upload a photo of your wiring or walk you through how to check your system. This takes 2-3 minutes and could save you the hassle of buying an incompatible device.
Before you Start get the following together
| Item | Why You Need It |
|---|---|
| Screwdriver (Phillips and flathead) | To remove the old thermostat and secure wires |
| Smart thermostat | The device itself (obviously!) |
| Phone or tablet | To download the app and follow setup instructions |
| WiFi password | Your thermostat needs to connect to your network |
| Optional: Wire labels/tape | Helpful if you want to label wires before disconnecting them |
| Optional: Flashlight | Useful if your thermostat is in a dim location |
Step-by-Step Installation Process
Step 1: Turn Off Your HVAC System
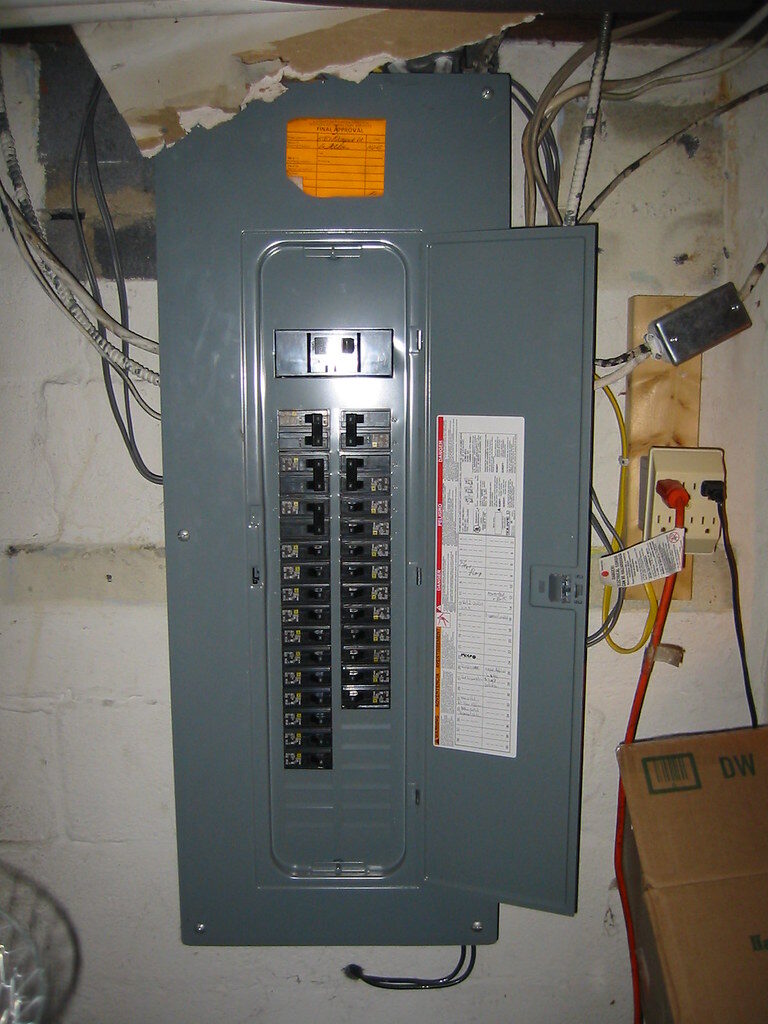
Safety first. Go to your breaker box and flip the switch for your heating and cooling system to the OFF position. This prevents electrical shocks and damage to your equipment.
If you’re not sure which breaker controls your HVAC, look for one labeled “heat,” “AC,” or “furnace.” When in doubt, take a photo and call your HVAC company’s support line for assistance. It is critical for your safety to avoid working on anything while there is still electricity actively running to it.

Step 2: Remove Your Old Thermostat
Gently pull the old thermostat away from the wall. Most thermostats are held in place by either screws or a clip. Use your screwdriver to remove any screws or gently pull up if it’s clip-mounted.
Photograph the wires. Before touching anything, take a clear photo of which wires connect to which terminals. The terminals are usually labeled with letters: R, W, Y, G, C. Here’s what they typically mean:
- R = Red wire (power)
- W = White wire (heating)
- Y = Yellow wire (cooling)
- G = Green wire (fan)
- C = Common wire (return path for power)
Disconnect the wires carefully. Most wires simply pull out of small slots. If they’re screwed in, unscrew them gently. Keep track of which wire came from which terminal, taking a photo before you start will help.
Step 3: Prepare the Wall
Remove the old mounting bracket. Once all wires are disconnected, unscrew the bracket that held your old thermostat and remove it from the wall.
Check the wall opening. If there’s a hole in the drywall where the wires come through, that’s normal. Your new thermostat’s mounting plate should cover it. If the hole is very large, you can use a small piece of drywall patch or simply let the new faceplate cover it.
Step 4: Install the New Thermostat’s Mounting Plate
Position the mounting plate. Hold it against the wall where your old thermostat was. Make sure it’s as level as possible, using a bubble level here helps if you have one.
Secure it to the wall. Use the screws provided with your thermostat to attach the mounting plate. Typically, you’ll use 2-4 screws. Tighten them firmly but don’t over-tighten, you don’t want to crack the plastic.
Step 5: Connect the Wires
Reference your photo. Look at the picture you took of your old thermostat’s wiring.
Connect each wire to its matching terminal on the new thermostat. The terminals on your new device should be labeled the same way (R, W, Y, G, C). Insert each wire into its corresponding slot until you hear a small click or feel it lock in place.
Important note: If you had a C-wire connected to your old thermostat, connect it to the C terminal on the new one. If you didn’t have a C-wire but your new thermostat requires one, you may need an adapter kit (some thermostats come with these, or you can buy one separately for around $20-$30).
Step 6: Attach the Thermostat to the Mounting Plate
Slide or click the thermostat onto the mounting plate. Most smart thermostats have a simple snap-on or slide mechanism. Align the thermostat with the mounting plate and push gently until it clicks into place.
Step 7: Turn the Power Back On
Return to your breaker box and flip the HVAC switch back to ON. Wait 30 seconds for the system to power up. Your thermostat should light up and display a welcome screen or startup message.
Getting Your Smart Thermostat Connected and Ready
Download the App
Find the manufacturer’s app in your phone’s app store. Search for your thermostat brand and download the official app. These should be free.
Create an Account
Sign up with your email address. You’ll need an account to control your thermostat remotely. Use a strong password, this device controls your home’s temperature, so security matters.
Connect to WiFi
Follow the in-app setup wizard. The app will guide you through connecting your thermostat to your home WiFi network. You’ll need to enter your WiFi password.
Set Your Preferences
Configure your temperature preferences. Most apps let you set:
- Your preferred heating temperature
- Your preferred cooling temperature
- Scheduling (so the thermostat adjusts automatically at certain times)
- Notifications (alerts if something seems wrong)
If it’s a lot all at once, don’t worry you can always adjust these settings later.
Troubleshooting Common Issues
The Thermostat Won’t Turn On
Check the power. Make sure the breaker is actually ON. If it is, wait 2-3 minutes, sometimes the system needs time to boot up after power restoration.
Verify the wiring. Double-check that the R (power) wire is securely connected. If it’s loose, the device won’t have power.
It Won’t Connect to WiFi
Restart your router. Unplug it for 30 seconds, then plug it back in. Sometimes this resolves connection issues.
Check your WiFi password. Make sure you entered it correctly in the app. WiFi passwords are case-sensitive.
Move closer to the router. If your thermostat is far from your WiFi router, it might struggle to connect. This is usually a temporary issue that resolves once the connection is established.
The App Says “No C-Wire Detected”
This is common. If your system doesn’t have a C-wire and your thermostat requires one, you’ll need a C-wire adapter kit (around $20-$40). These kits create a virtual common wire using your existing wires. Installation takes about 10 minutes and involves connecting the adapter to your furnace or air handler. Most kits come with detailed instructions or you can find YouTube tutorials for your specific model.
When to Call a Professional

You don’t need a professional for most installations, but consider calling an HVAC technician if:
- Your system doesn’t have a C-wire and you’re uncomfortable installing an adapter kit
- You have an older or unusual HVAC system that doesn’t match standard wiring
- You’re unsure which breaker controls your HVAC system
- Your thermostat still won’t power on after checking everything
A service call typically costs $75-$150, which is still less than the annual savings you’ll gain from the smart thermostat.
Enjoying your New Smart Thermostat
Installing a smart thermostat is a very manageable DIY project you can tackle. You’re not dealing with complex circuitry or anything that requires special licensing, just a few wires and a bit of patience. Plenty of non-technical homeowners do this every year successfully.
Take your time, follow the steps in order and don’t hesitate to contact the manufacturer’s support line or watch a quick YouTube video for your specific model if you get stuck.