This guide walks you through everything you need to sign up for a Gmail account, with simple steps, common errors and fixes. Don’t get too hung up on the exact words and buttons as the website and apps are constantly changing, follow these guidelines and you will be using your new Gmail in no time.
What you’ll need before you start
- A device with internet access (computer, tablet, or smartphone).
- A working web browser (Chrome, Firefox, Edge, Safari).
- A phone number or an existing email address for account verification (Google often requests one).
- A strong password you can remember (see tips below).
Option 1 – Create a Gmail account with your web browser
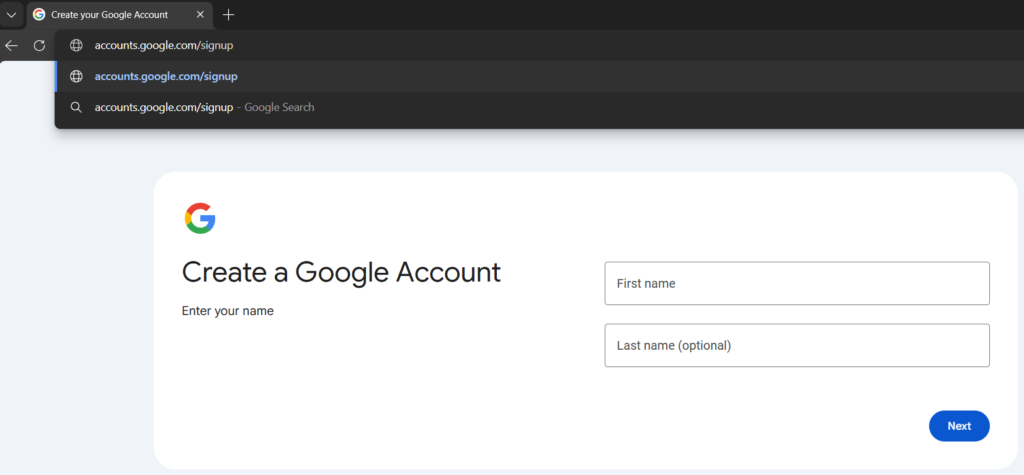
- Open your browser and go to accounts.google.com/signup
- Fill in your name:
- First name, Last name (use your real name or a name you want associated with the account).
- Choose a username (this becomes your new @gmail.com address):
- Try combos of your name (e.g., jane.doe, jane.doe1975). If it’s taken, Google will suggest alternatives.
- Create a password and confirm it:
- Use at least 12 characters with letters, numbers and symbols. Don’t reuse passwords from other sites.
- Click Next.
- Enter recovery information:
- Phone number (recommended) – used to verify account and recover it if you get locked out.
- Recovery email (optional but helpful).
- Birthdate and gender (required; you can opt to decline specifying gender).
- Verify your phone number:
- Google will send a code by SMS. Enter the code on screen.
- Review Google’s Terms and Privacy Policy and click “I agree.”
- Your new Gmail inbox will load. You’re done.
Option 2 – Create a Gmail account on Android
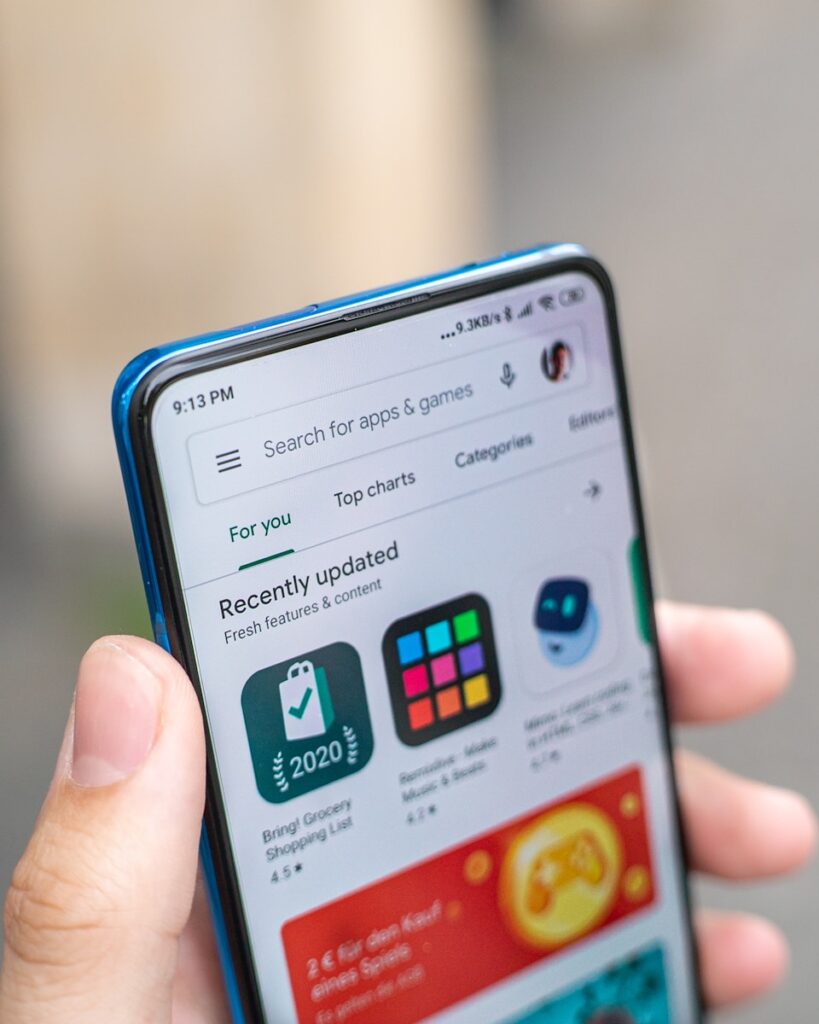
- Open the Google Play Store and install the Gmail app (if not already installed).
- Open the Gmail app. On first launch tap “Add an email address” then Google
- Tap “Create Account” then For myself.
- Enter your First and Last name then Next.
- Choose a username (this will be your @gmail.com address) then Next.
- Create a password and enter again to confirm it. Then hit Next.
- Enter your phone number for verification (recommended) then Next.
- Enter the verification code sent by text message to your phone number.
- Add a recovery email (optional), then enter birthdate and gender. Click Next.
- Review Google’s Terms of Service and Privacy Policy, then tap I agree.
- The Gmail app will finish setup and open your new inbox. Tap your profile photo access account settings.
Tips/errors:
- If SMS verification fails, choose Call instead or double-check country code.
- If username is taken, try adding numbers adding a dot will not help.
- To enable stronger security: open Settings – Manage your Google Account – Security – 2-Step Verification.
Option 3 – Create a Gmail account on iPhone (iOS)
- Open the App Store, install the Gmail app.
- Open Gmail then tap Sign in then Create account then For myself.
- Enter First and Last name then Next.
- Choose a username then Next.
- Create and confirm a password then Next.
- Enter phone number for verification then tap Next.
- Enter the verification code you receive by SMS.
- Optionally add a recovery email, then add birthdate and gender, tap Next.
- Review Terms and tap I agree.
- Gmail will finish setup and show your inbox.
Tips/errors:
- If Apple blocks SMS preview, enable notifications or open Messages to view verification code.
- For best security, after setup enable 2-Step Verification: Gmail app – profile photo – Manage your Google Account – Security – 2-Step Verification.
Common errors and fixes
- “Username is already taken”
- Try adding a number, middle initial (e.g., jane.doe -> jane.doe1). Google will offer suggestions.
- “We couldn’t verify your phone number”
- Make sure you entered the correct country code and number. Restart your phone, request the code again or try calling rather than SMS. If your phone blocks unknown SMS, temporarily disable that setting.
- “That password is too weak”
- Use a longer password with a mix of characters. Consider an easy to remember passphrase (e.g., BlueCoffee-Trample-42).
- “You’ve reached the limit for creating accounts”
- Google limits how many accounts can be made from one device/number in a short time. Wait 24–48 hours or use a different phone number.
- “Verification code didn’t arrive”
- Check spam or blocked messages, correct country code or request a voice call option. Try again after a few minutes.
- Account disabled after sign-up
- Follow the on-screen instructions to appeal; provide any requested ID or details.
Password and security tips
- Use a unique password per account. Consider a reputable password manager (e.g., Bitwarden, 1Password, LastPass) to store passwords.
- Turn on 2-Step Verification (2SV) after creating your account:
- Methods: SMS code, authenticator app (Google Authenticator, Authy) or a physical security key (YubiKey).
- Authenticator apps are more secure than SMS.
- Set a recovery email and keep your phone number up to date.
Alternatives to Gmail
| Service | Free storage | Ease of use | Privacy focus | Best for |
|---|---|---|---|---|
| Gmail (Google) | 15 GB shared with Drive/Photos | Very easy, integrates with many services | Moderate | Everyday use, business, Android users |
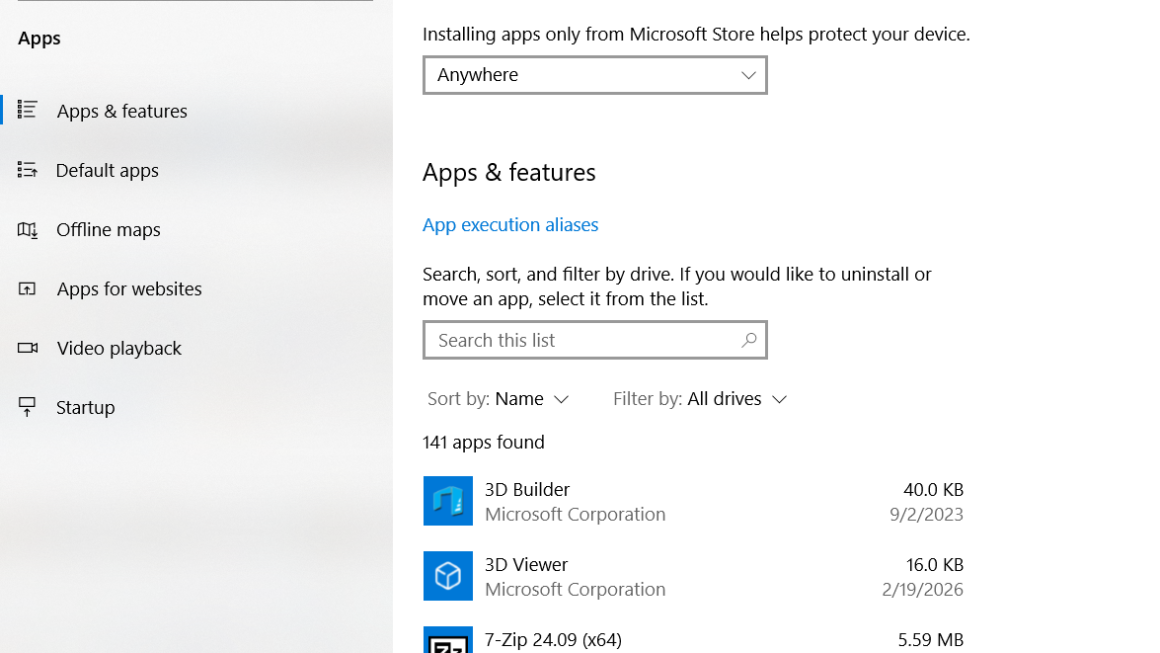
| Outlook.com (Microsoft) | 15 GB mailbox + 5 GB OneDrive | Easy, integrates with Microsoft Office | Moderate | Windows/Office users |
| Yahoo Mail | 1,000 GB | Easy | Moderate | Large storage needs |
| Proton Mail | 500 MB free | Simple, encrypted end-to-end | High, privacy-first, Switzerland-based | Privacy-conscious users |
| Tutanota | 1 GB free | Simple | High, end-to-end encrypted | Privacy-first, secure email |
What to do after creating your Gmail
- Open Gmail – Settings (gear icon) – See all settings.
- Add a profile photo (optional).
- Create a signature: Settings – General – Signature.
- Import contacts: click Google Apps – Contacts – Import.
- Enable 2-Step Verification: accounts.google.com/security – 2-Step Verification.
- Optional: add your Gmail account to your phone’s Mail app or download the Gmail app.